There were two goals in mind when we started putting in the walls and floors of the van: the first was to insulate the space better than a home, the second was to make it look like a home. Insulating wasn’t a problem, but working with the odd, curved shaped panels for walls and floors created a few setbacks. Here are the materials and steps we used while installing the interior walls and floors:
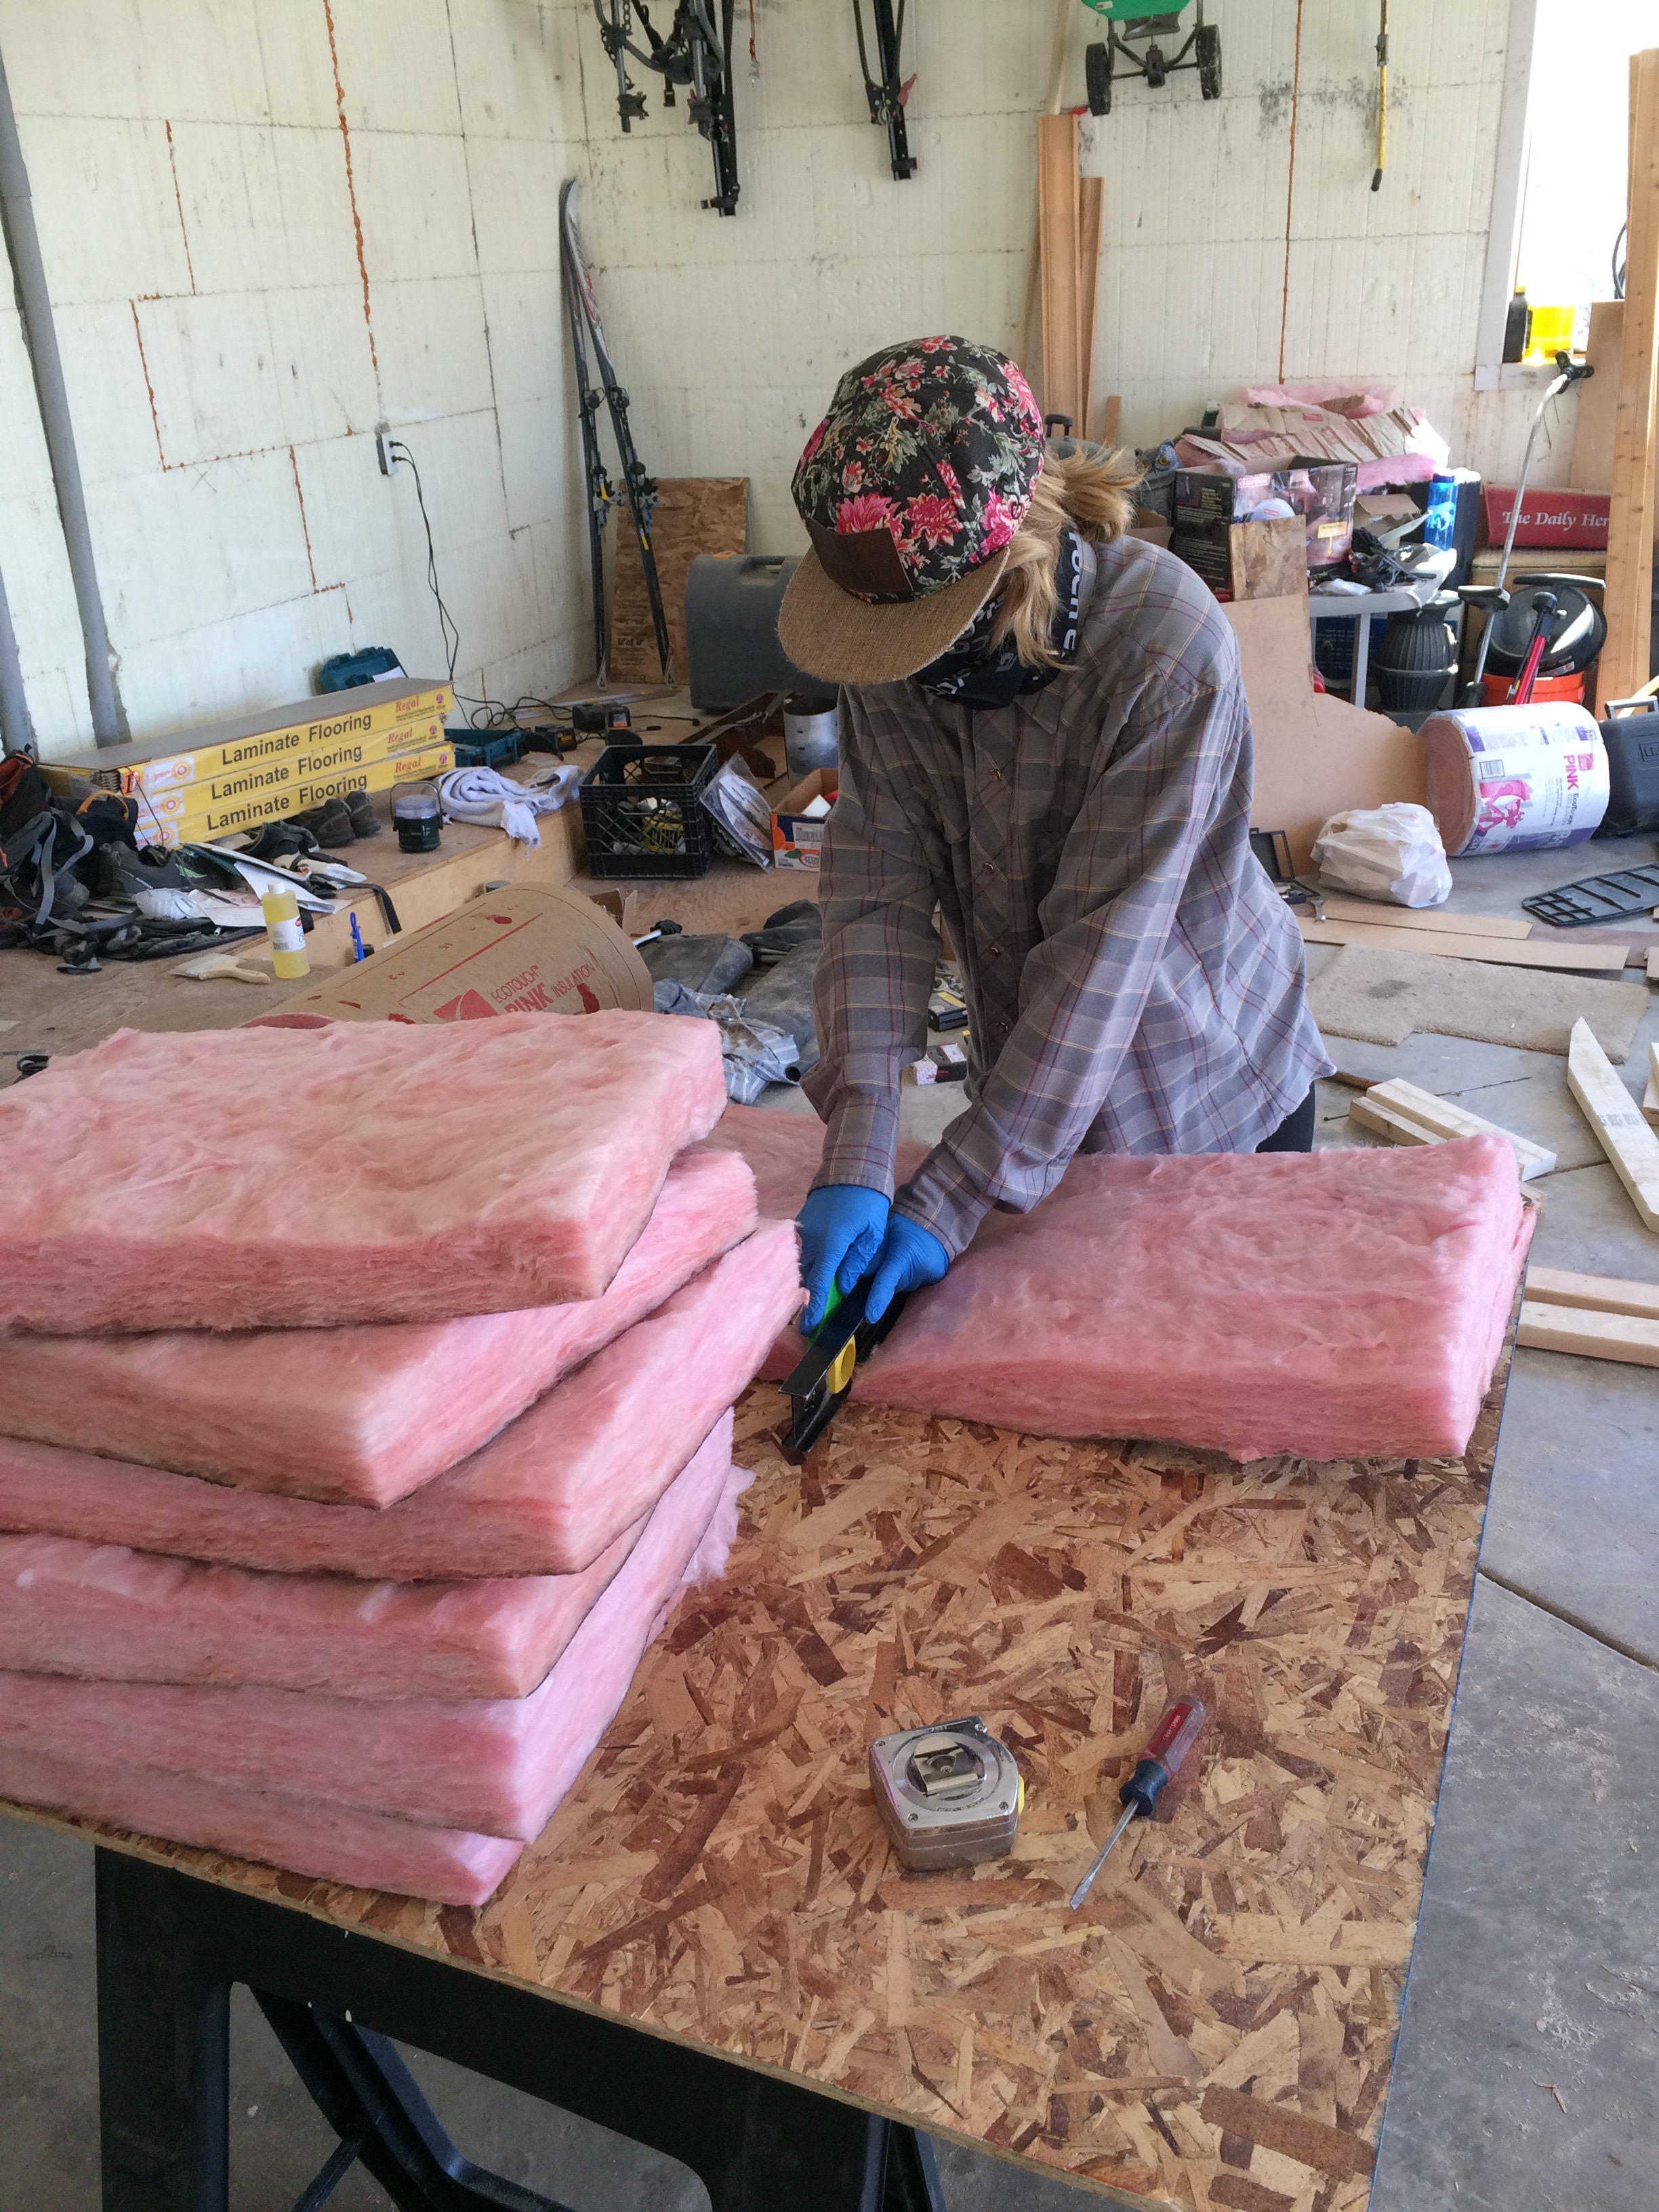
Step 1) Insulating Material: R-13 Kraft Faced Insulation Roll
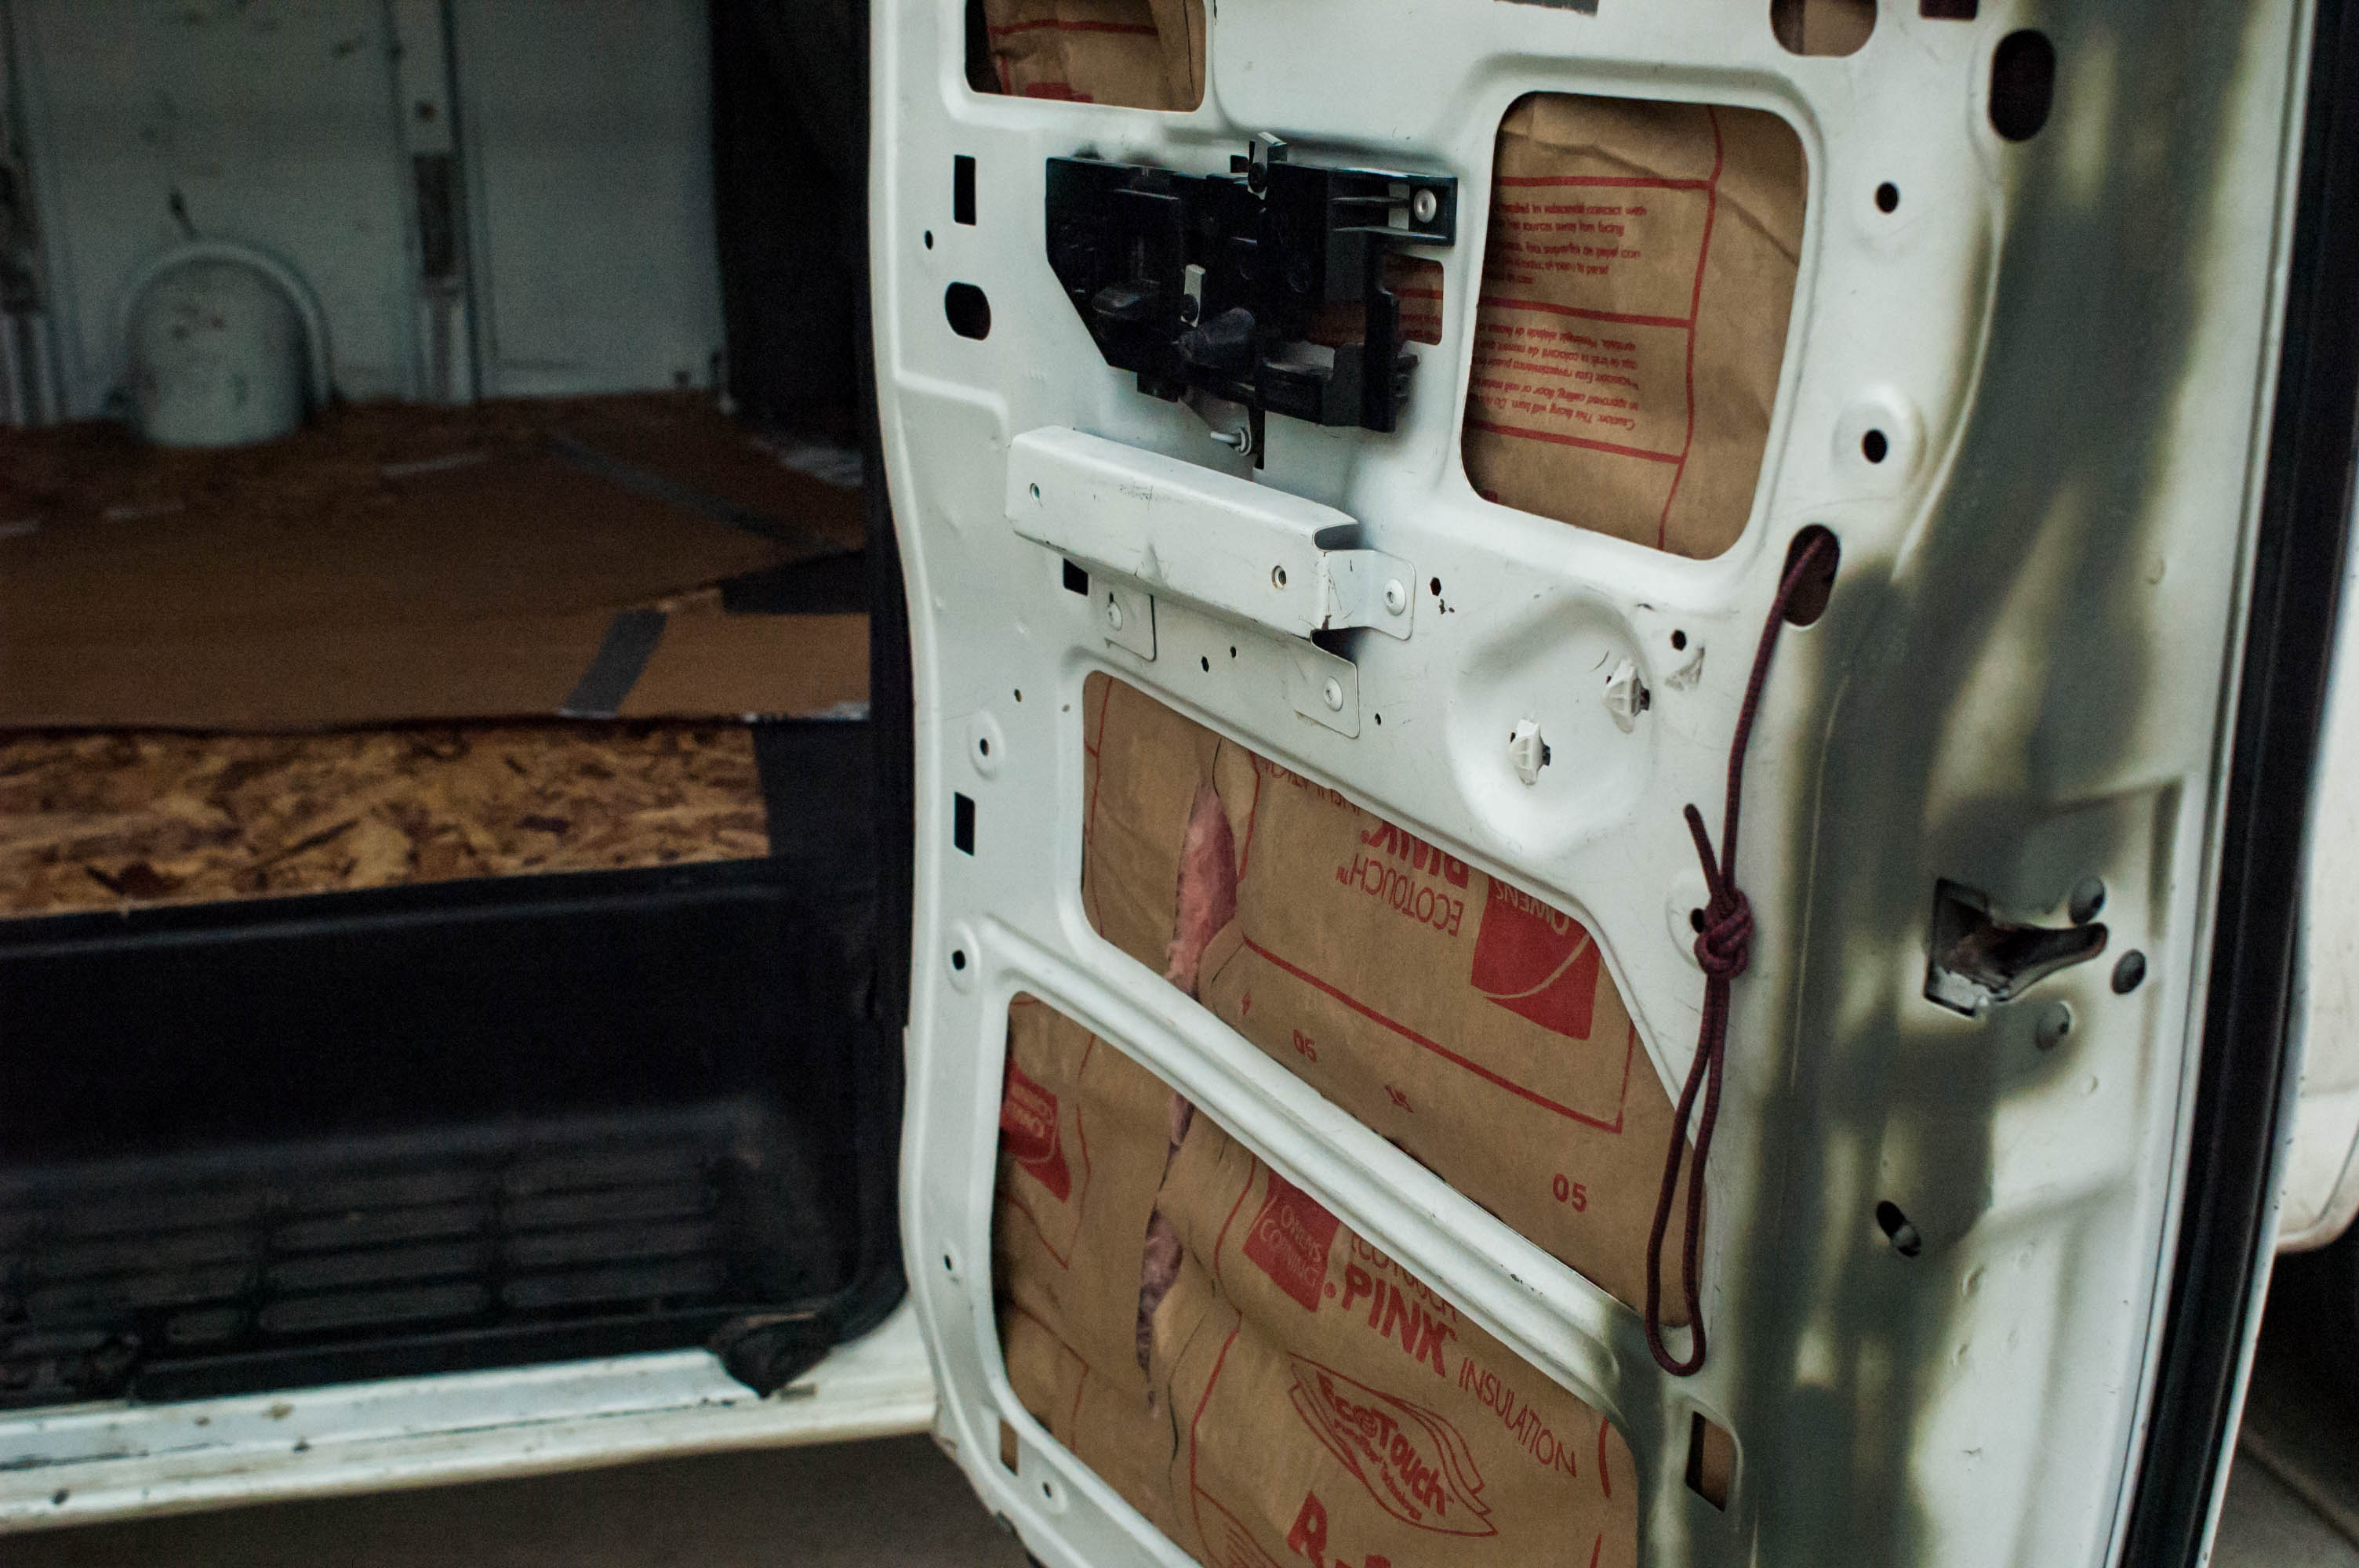
For someone with minimal construction background, I found insulating to be the pits, especially in 90 degree weather. Matt is more technically skilled with a jigsaw (power tools are not my forte) so his task was to cut and shape the walls while I put in the insulation. The words of my Father kept coming to mind: “It builds character.” The whole van build was one long character building experience– one that I’m sure we will always cherish. I shoved as much of the insulation, or as I endearingly coined it: cotton candy from hell, into every nook and cranny of the van, including the door panels. The work paid off, not only does the space warm-up quickly, but it retains heat exceptionally well. In single digit temps we can burrow under a down comforter without lighting a fire (details on the wood burning stove will be left to another post) and our body heat keeps the space comfortably warm. This is a stark contrast to our time in the VW where we had minimal insulation and it felt like we were living in an ice box. The insulation also works as an excellent sound barrier.
Step 2) Lower Wall Panels: Quarter Inch Birch Plywood
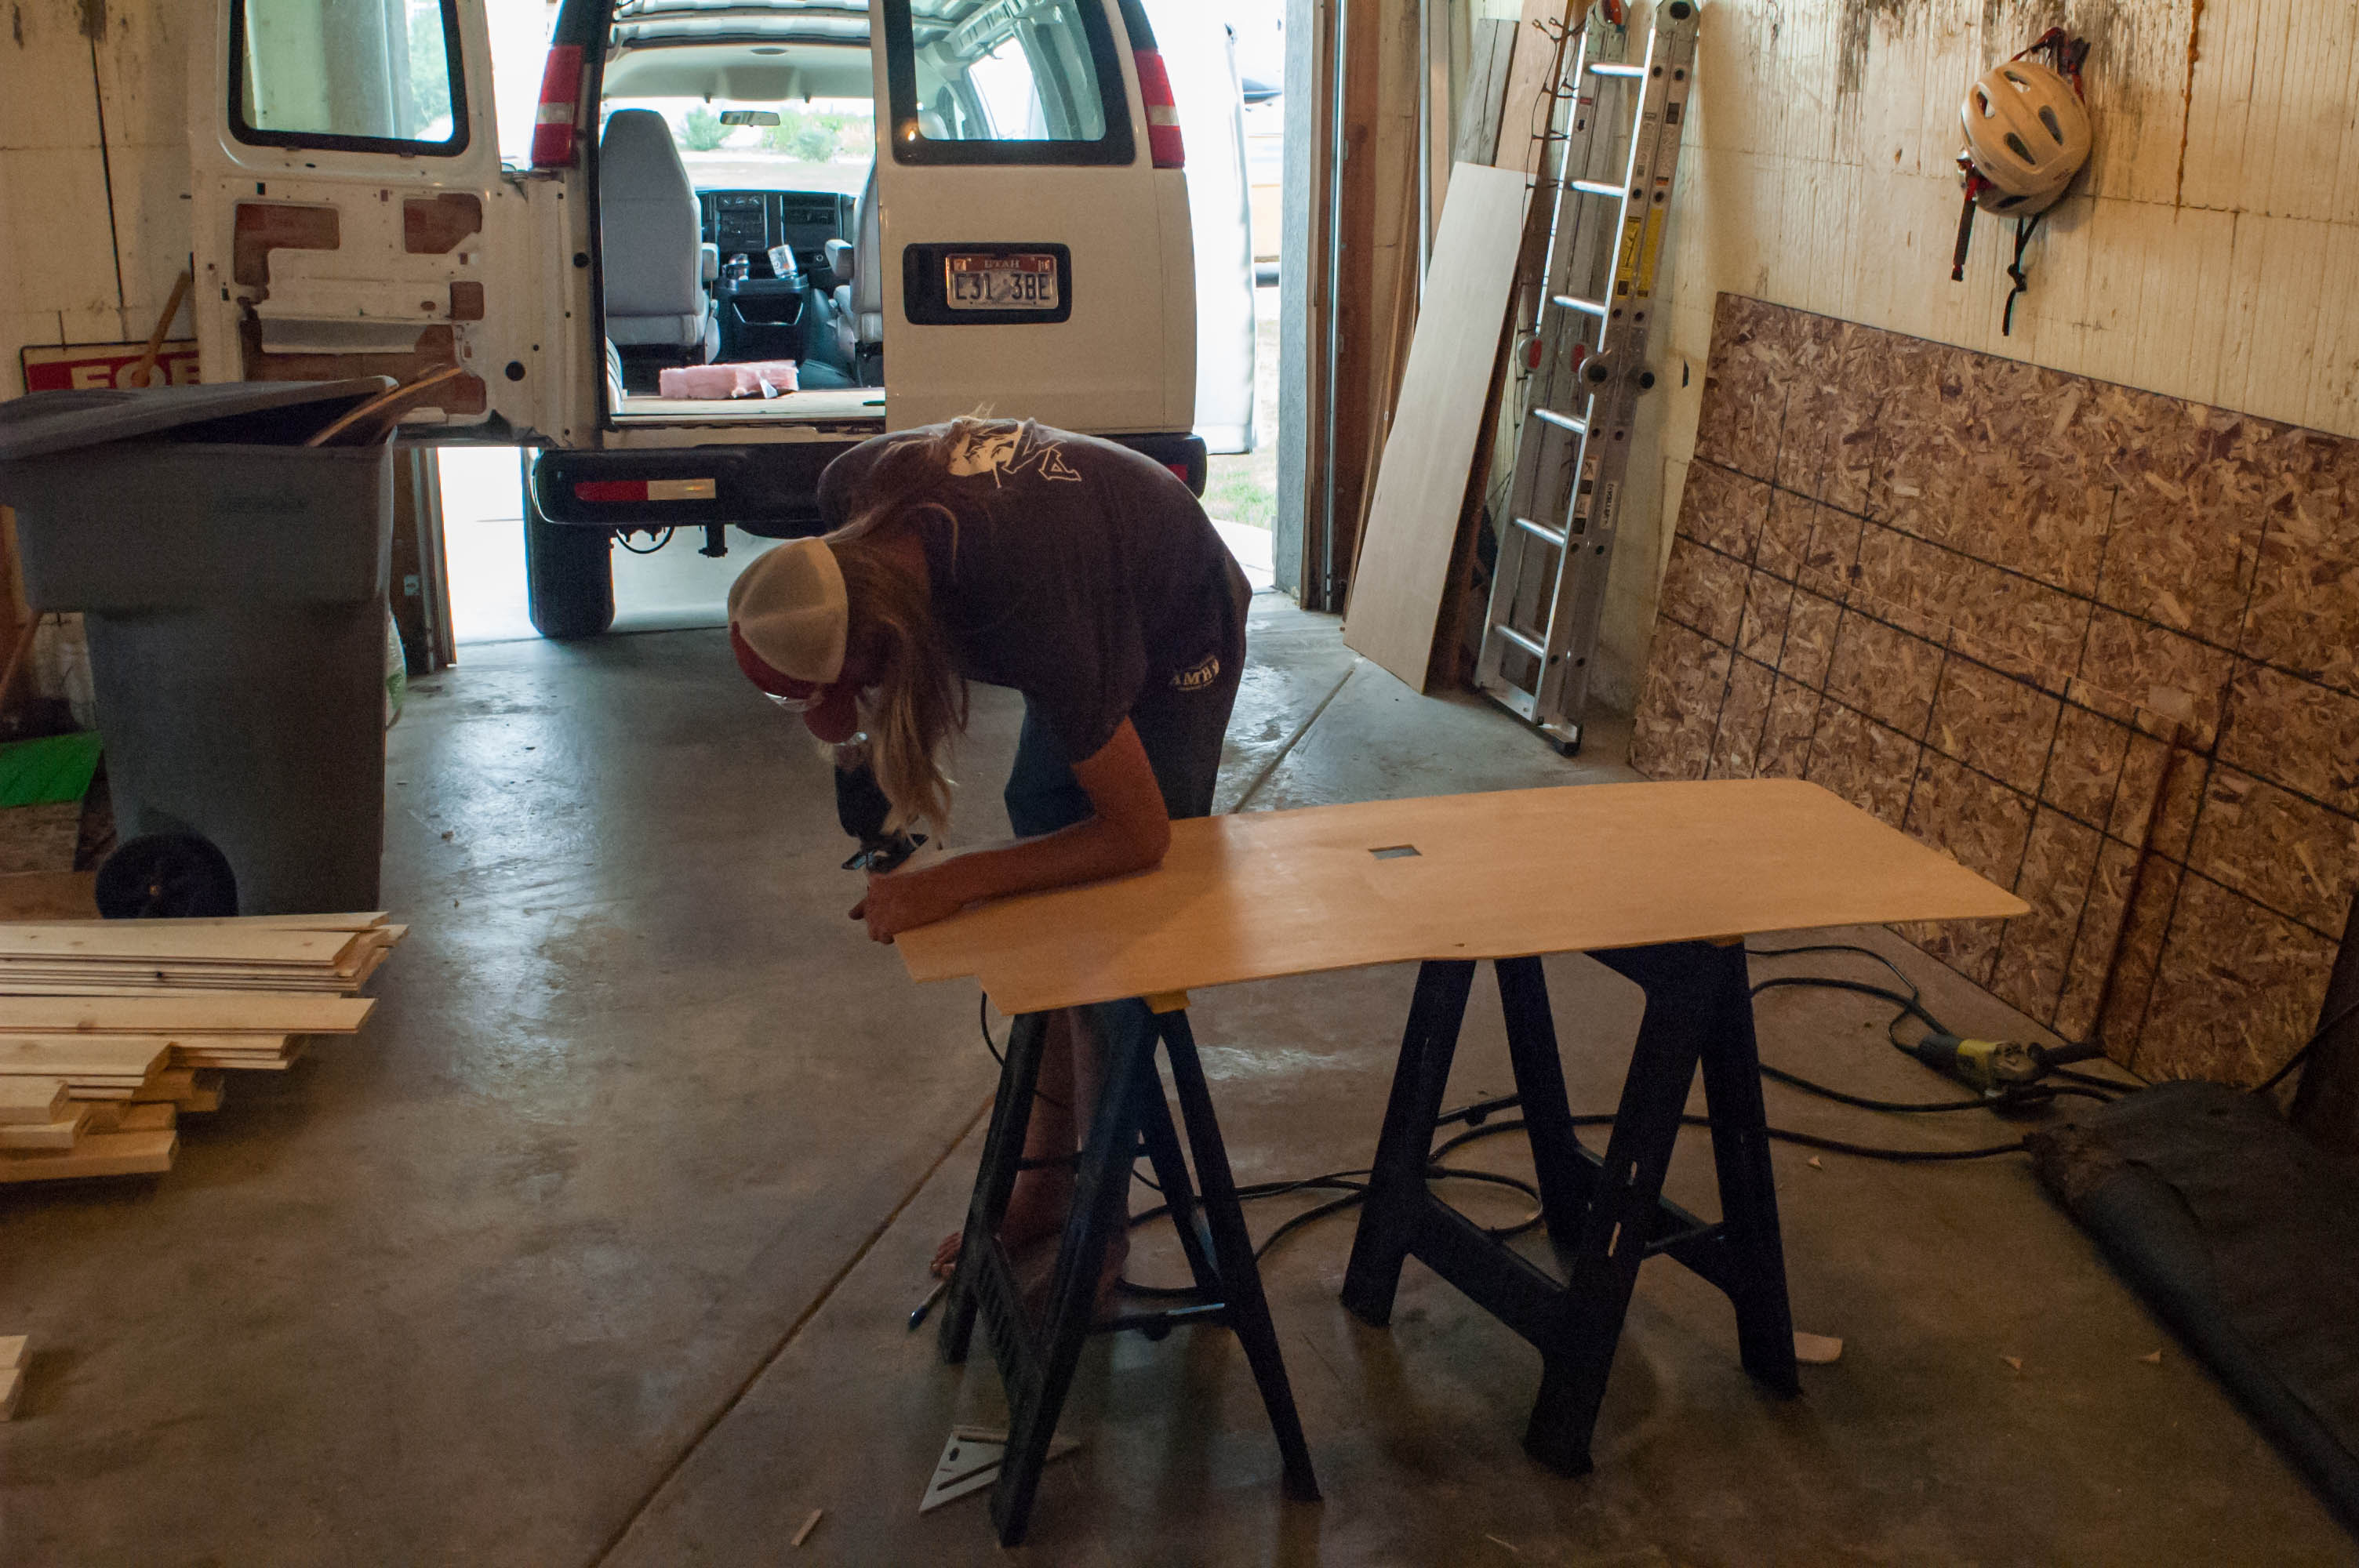
The original plan was to instal quarter inch birch plywood as a base for a higher quality tongue and groove to lay on. After installing the panels, we liked the way the walls looked without the tongue and groove (the cost of the wood may have also played into our decision.) Most of the lower panels would be covered by the cabinets and bed/couch anyways. After Matt painstakingly figured out the shapes of the pieces, we found that the thin plywood was relatively easy to shape to the curved walls of the van, aside from the door panels. With these panels having significantly sharper curves, we tried a few things to prevent the wood from cracking under pressure. First we soaked the wood in water hoping it would form better, and although it did, the layers of plywood started peeling. The best method we found was to screw down the board in a few places and come back on a later day to put in a few more screws after the wood had relaxed a bit. The final touch was staining the walls with the same deck sealer we used on the exterior tongue and groove– a step which was probably done in reverse order. Staining would have been easier to do before the install, but those are the lessons you learn as you go.

 Step 3) Tongue and Groove Detail
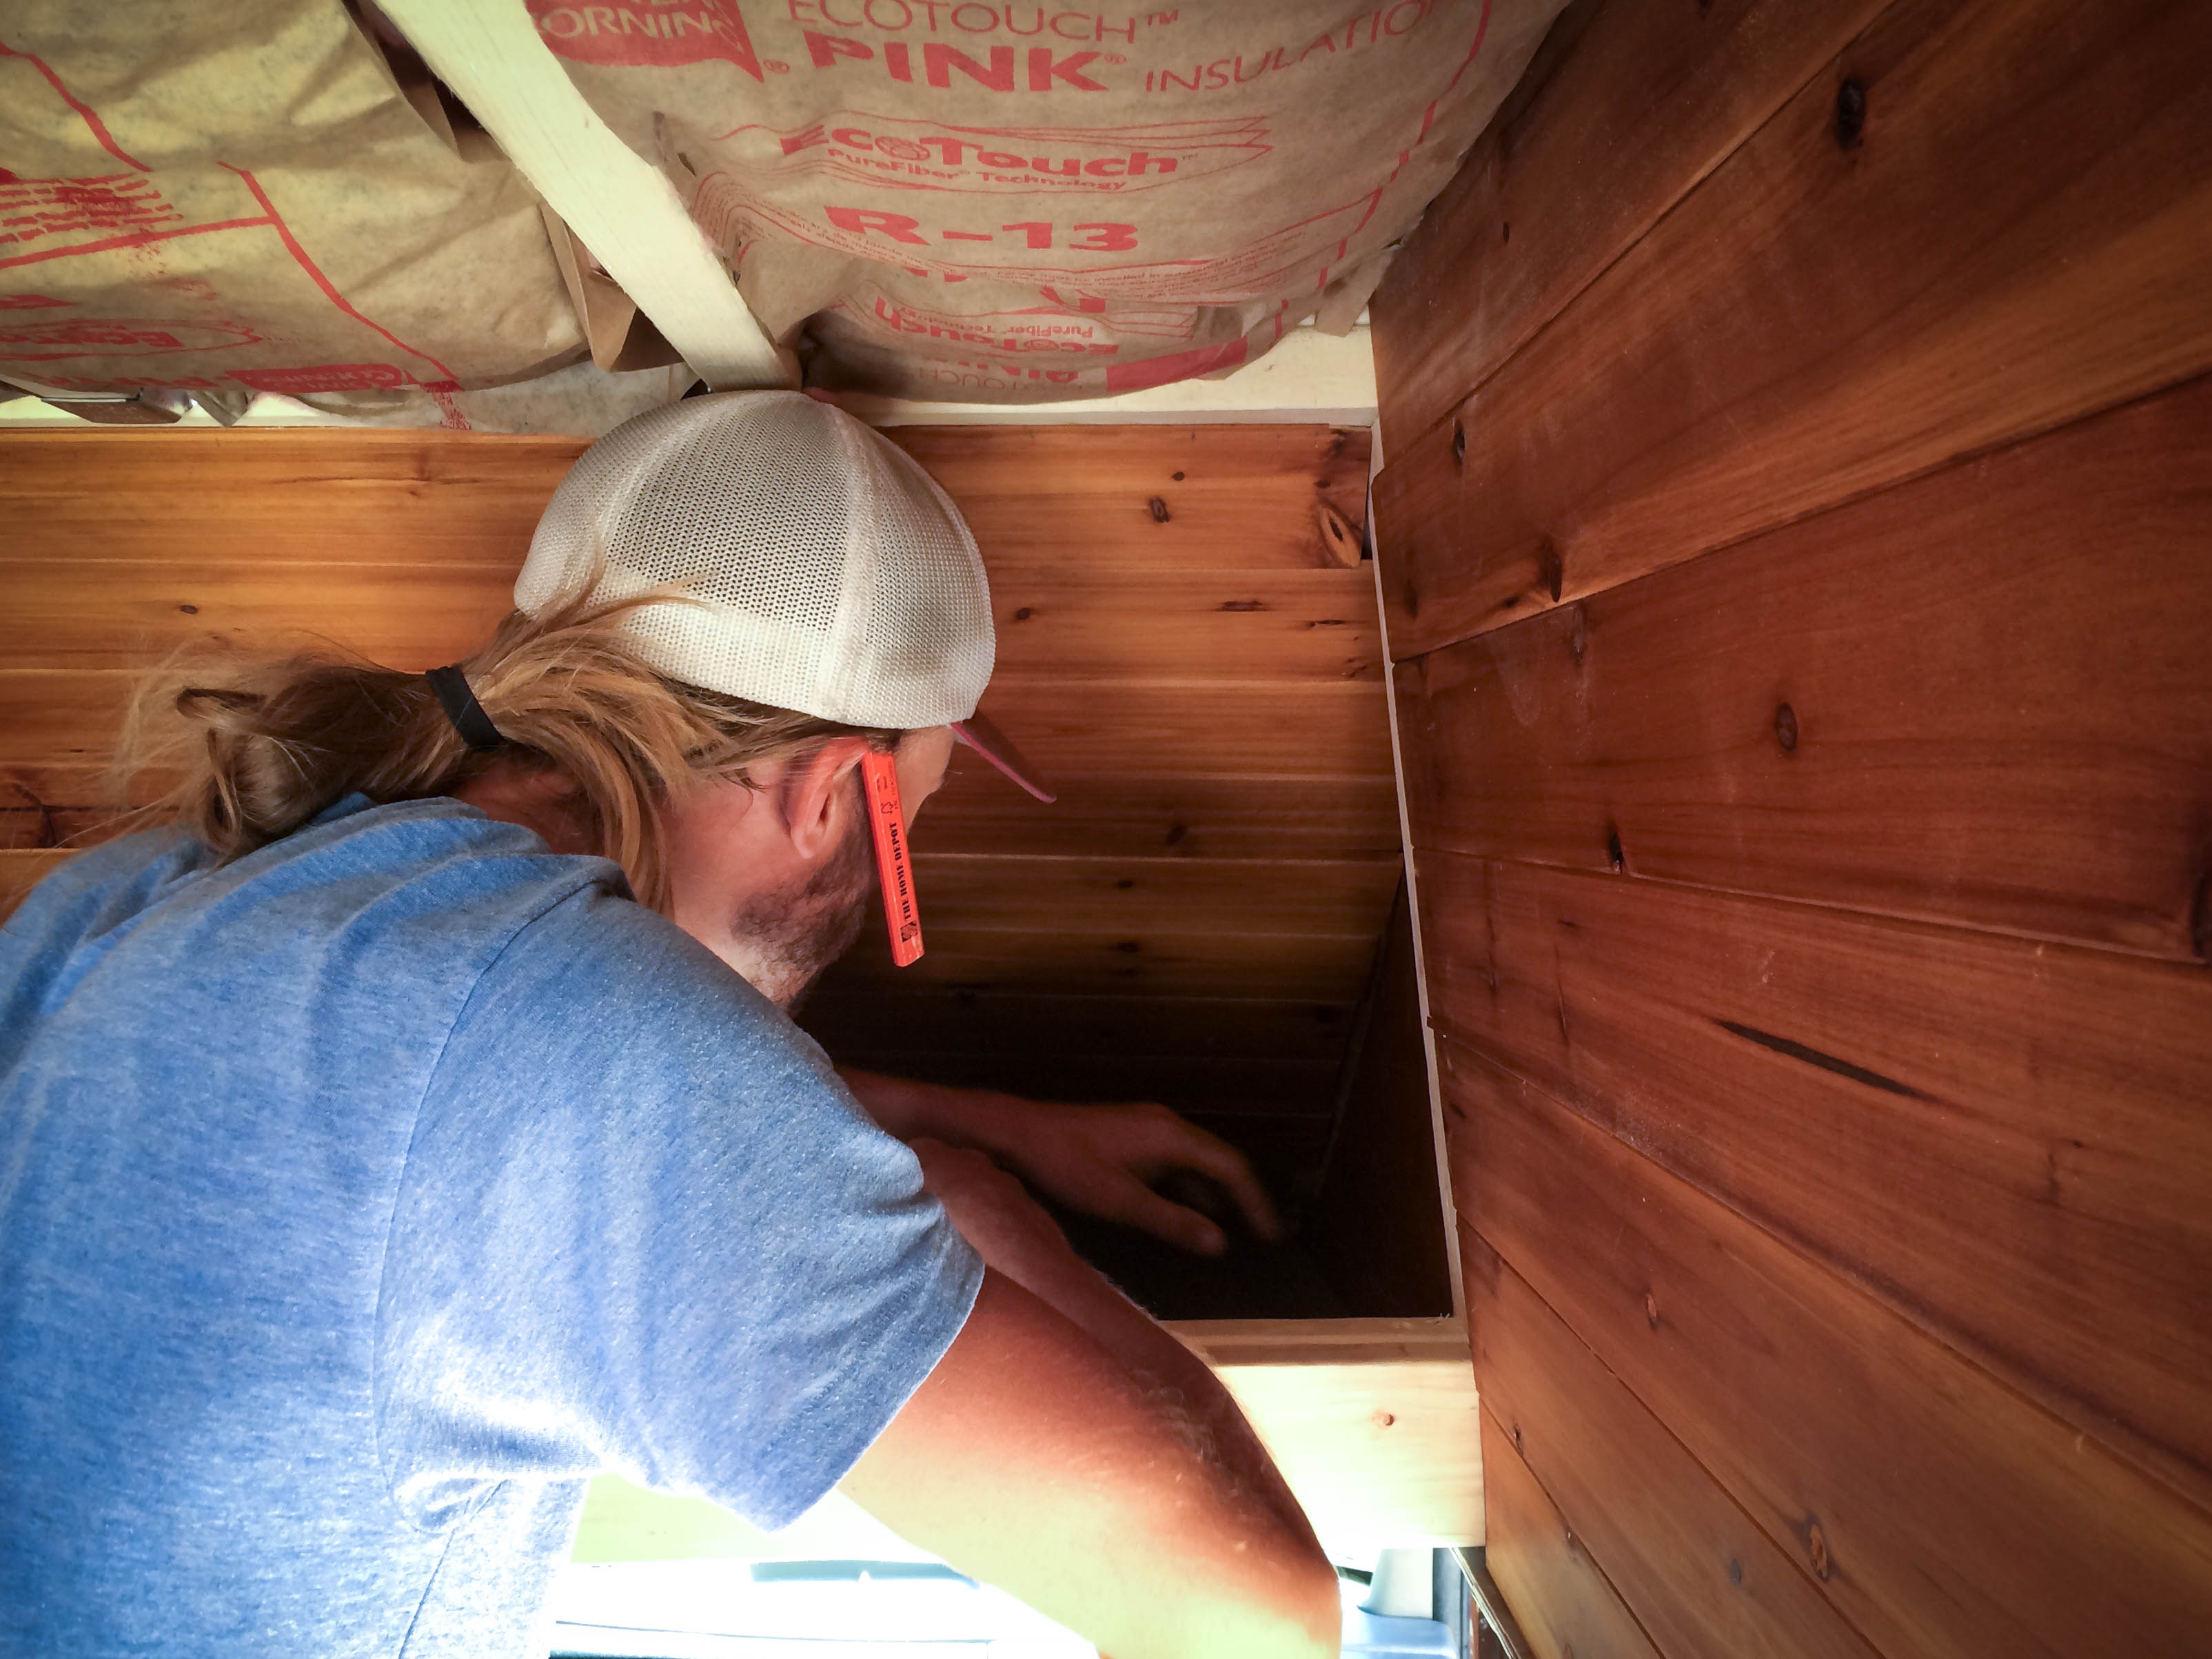
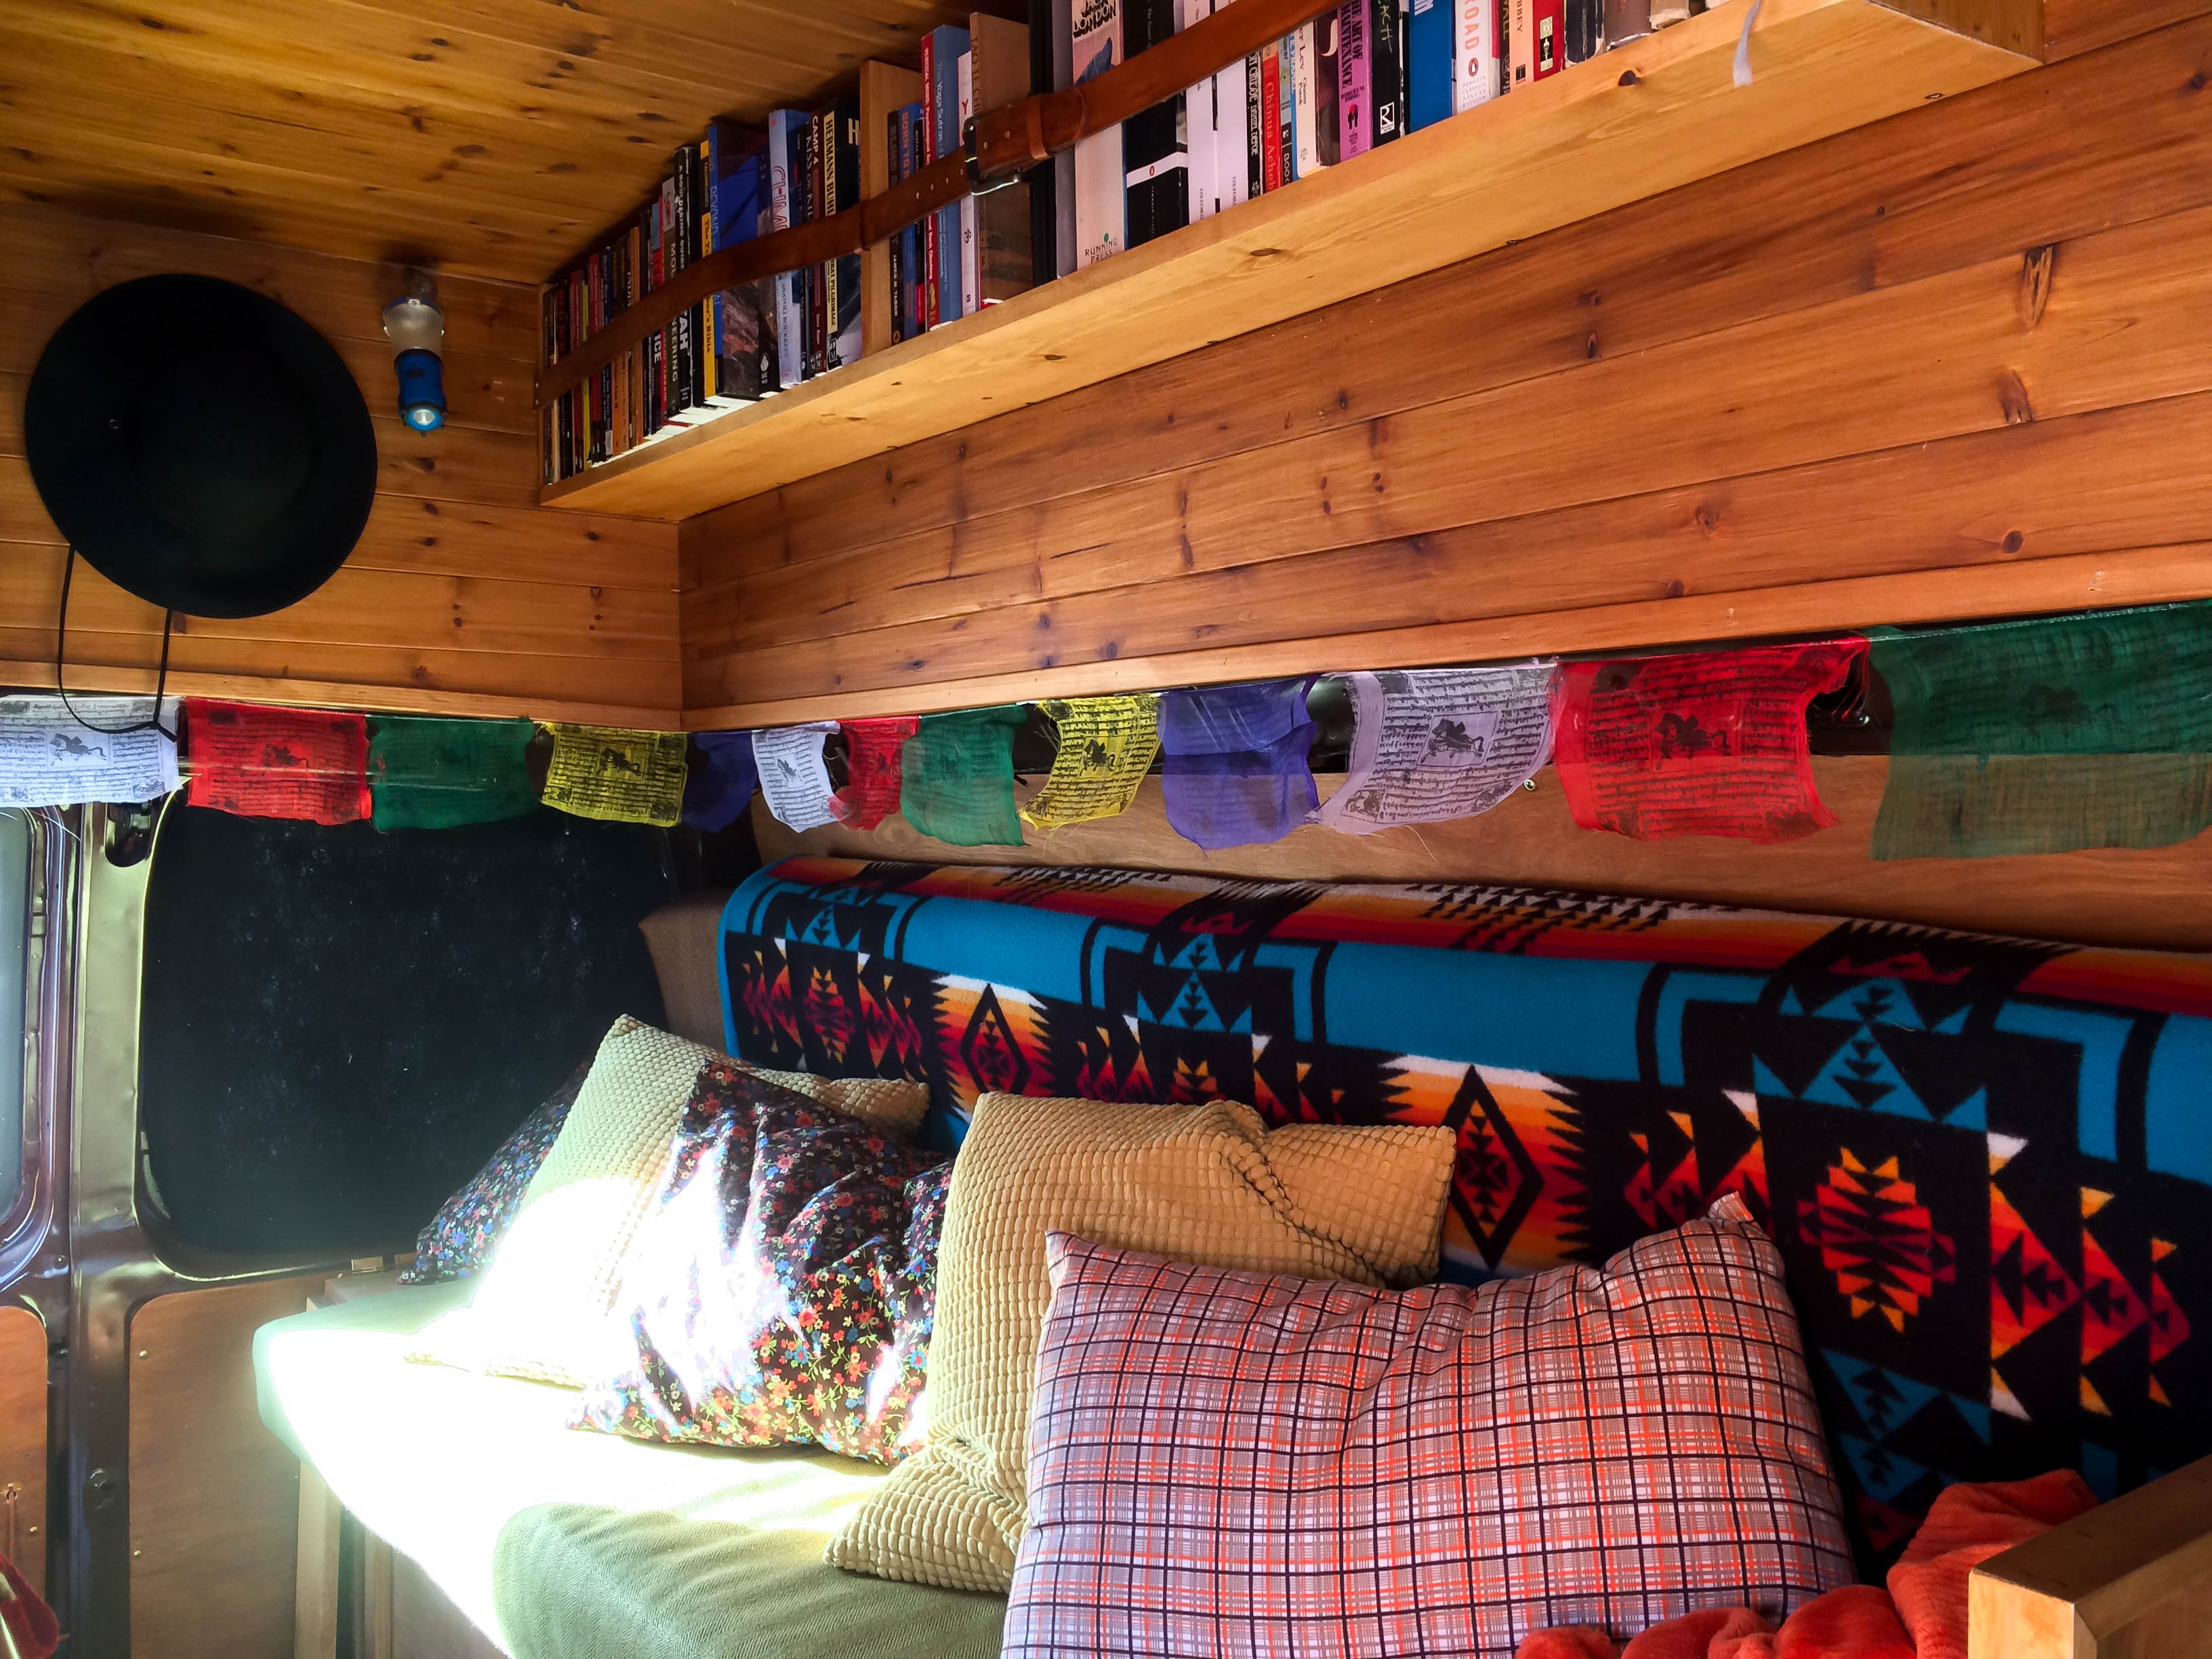
Although we settled on using quarter inch birch ply in the lower portion of the van walls, we decided to detail the extended portion of the van with tongue and groove. There was little to no consistency in the woods we used throughout the entire build (we chose instead to go with more accessible, and often times cheaper, woods) but in staining everything with the same product we were able to tie it all together nicely. The interior tongue and groove was quarter inch cedar, which added a nice smell to the van. We stained the pieces individually, and then glued/nailed the pieces to the wood frame of the extension, adding a wood cabin touch to the interior.
Step 4) Painting the Interior Beams: Krylon Spray Paint
Truth be told, this was one of our biggest annoyances. We had every intention of covering all metal beams of the interior van with beautiful wood, but after several attempts and many dollars later we threw up our hands and concluded: we live in a van, there’s no way around it. After this breakthrough, we let go of our original plans and painted the white beams with brown spray paint. To our surprise, we liked the way it looked, and even appreciated the evidence of the bolts holding down the roof to the frame. Again, the whole process of painting the beams would have been much easier had we done it before we installed the birch plywood. Learn from our mistakes.
Step 4) Flooring
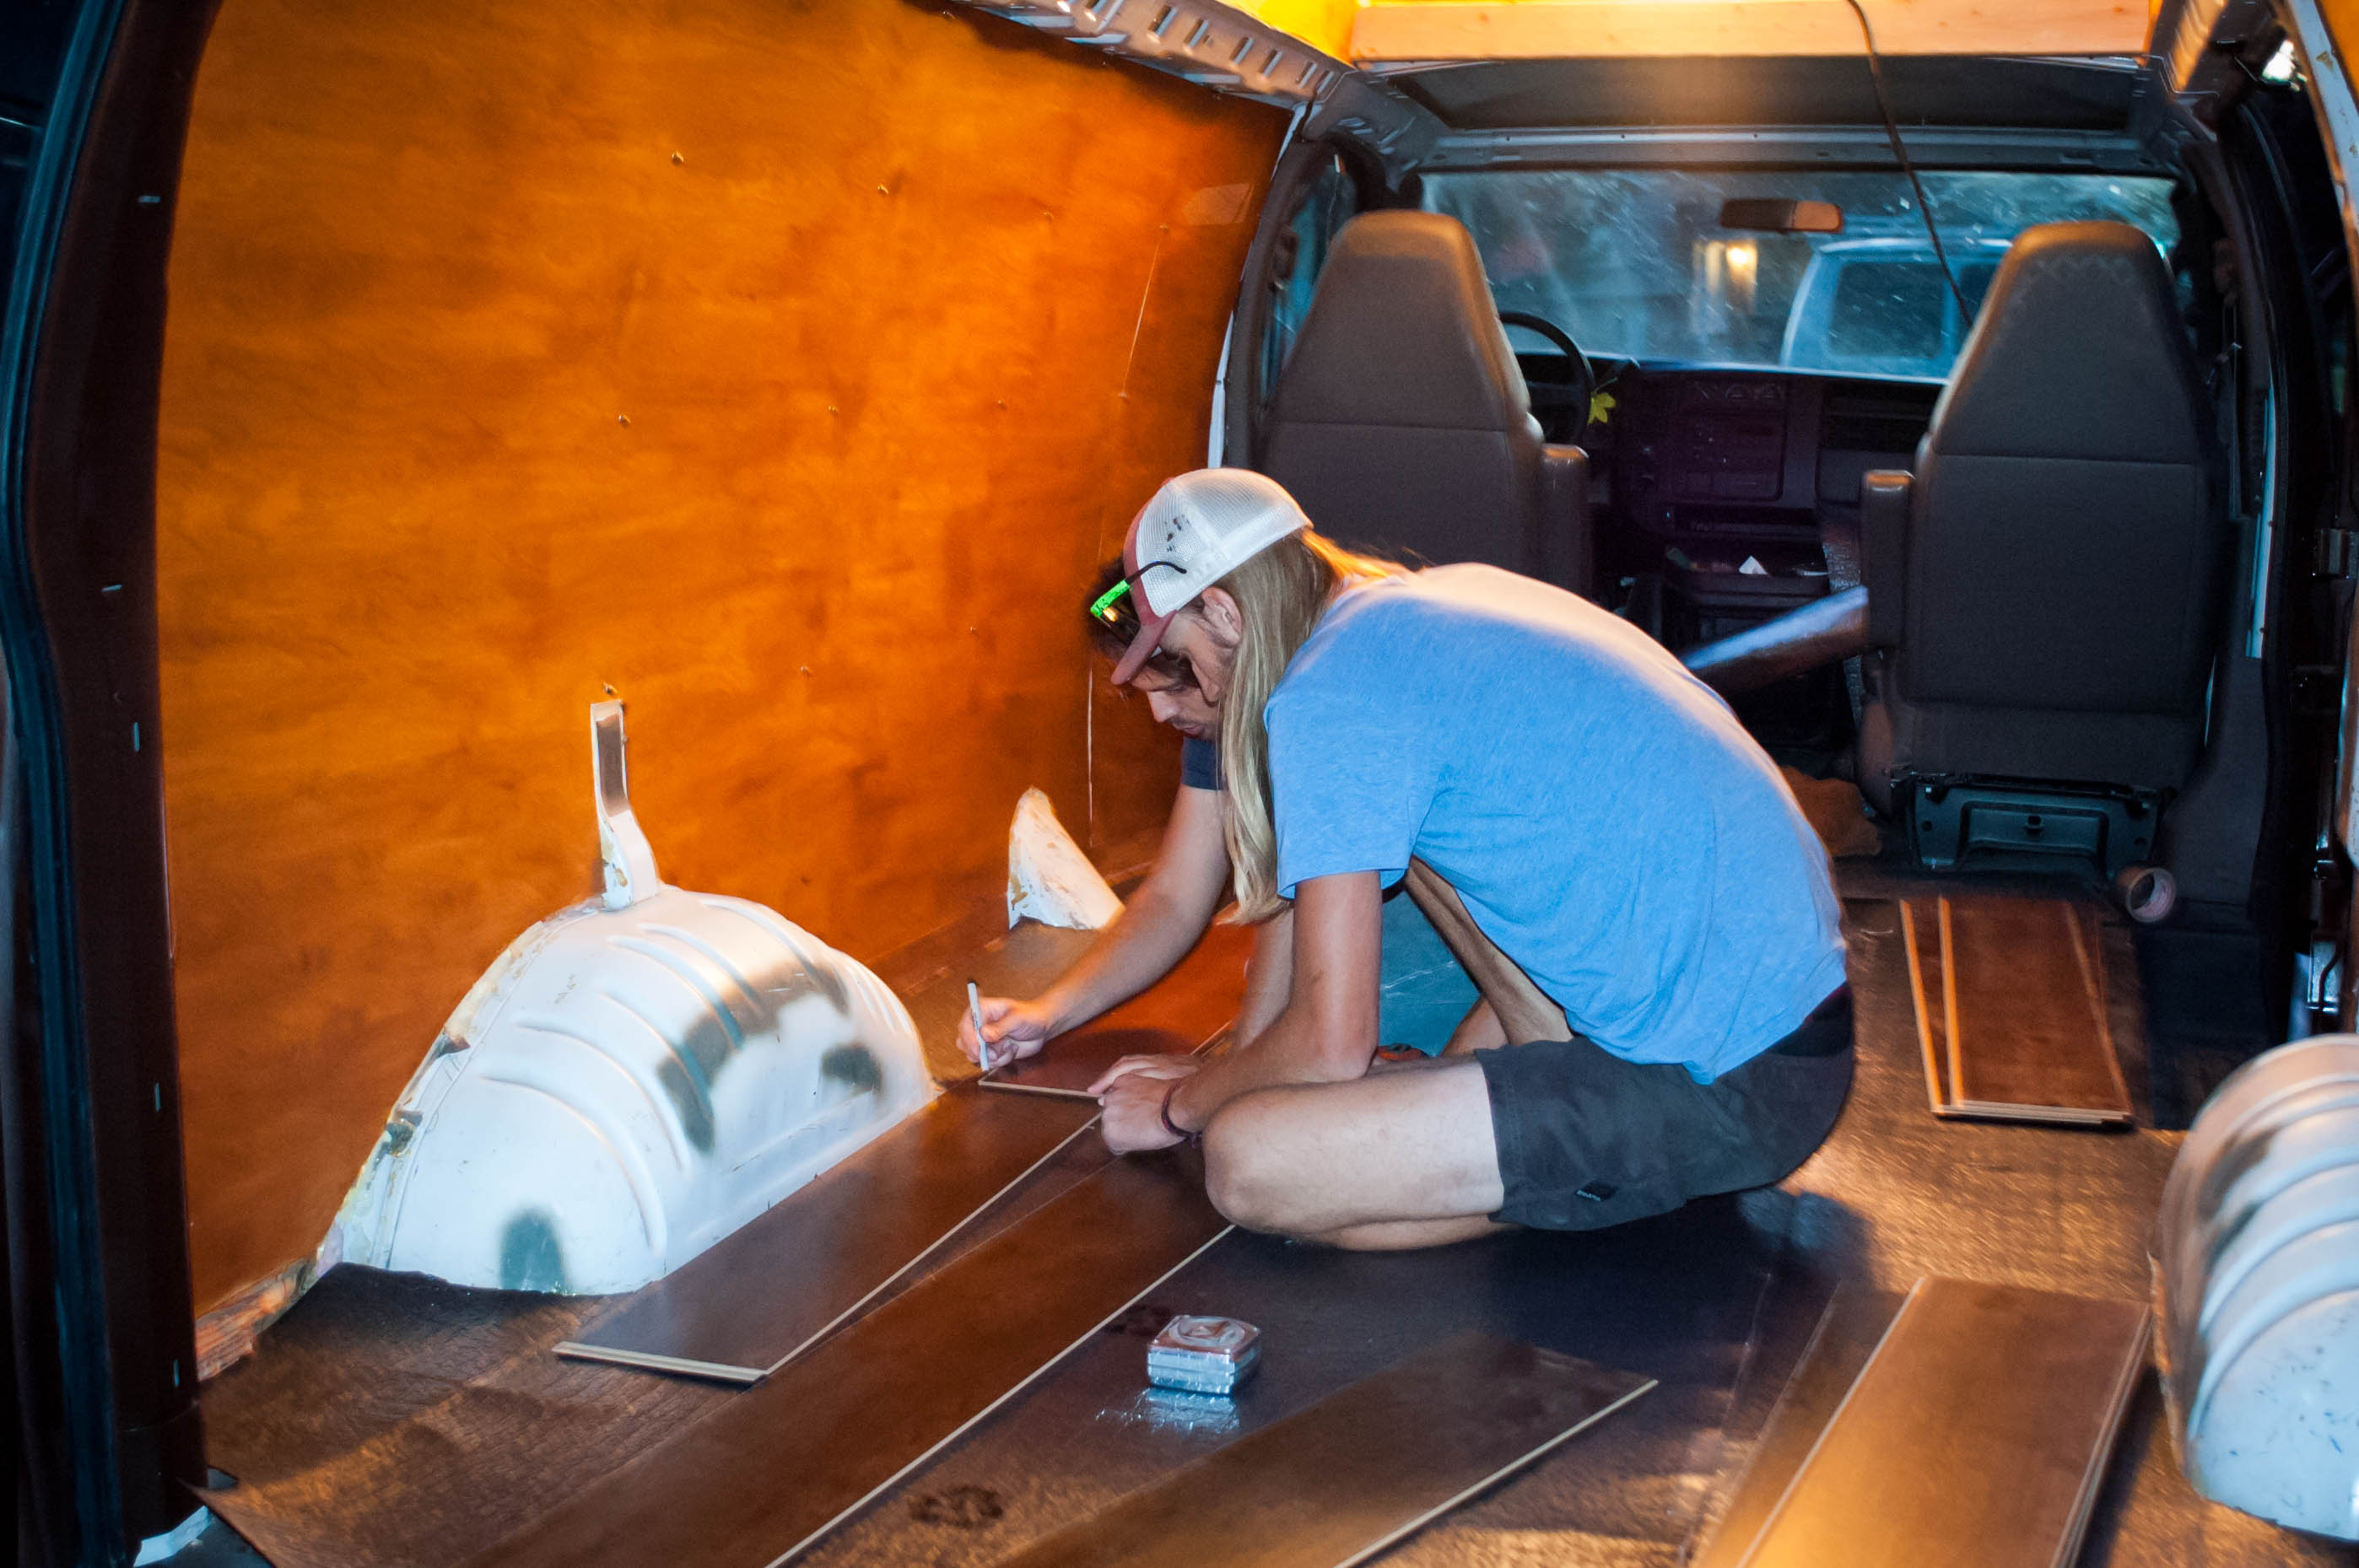
The flooring of the van is comprised of three layers: plywood subfloor, insulated underlayment, and wood floor laminate.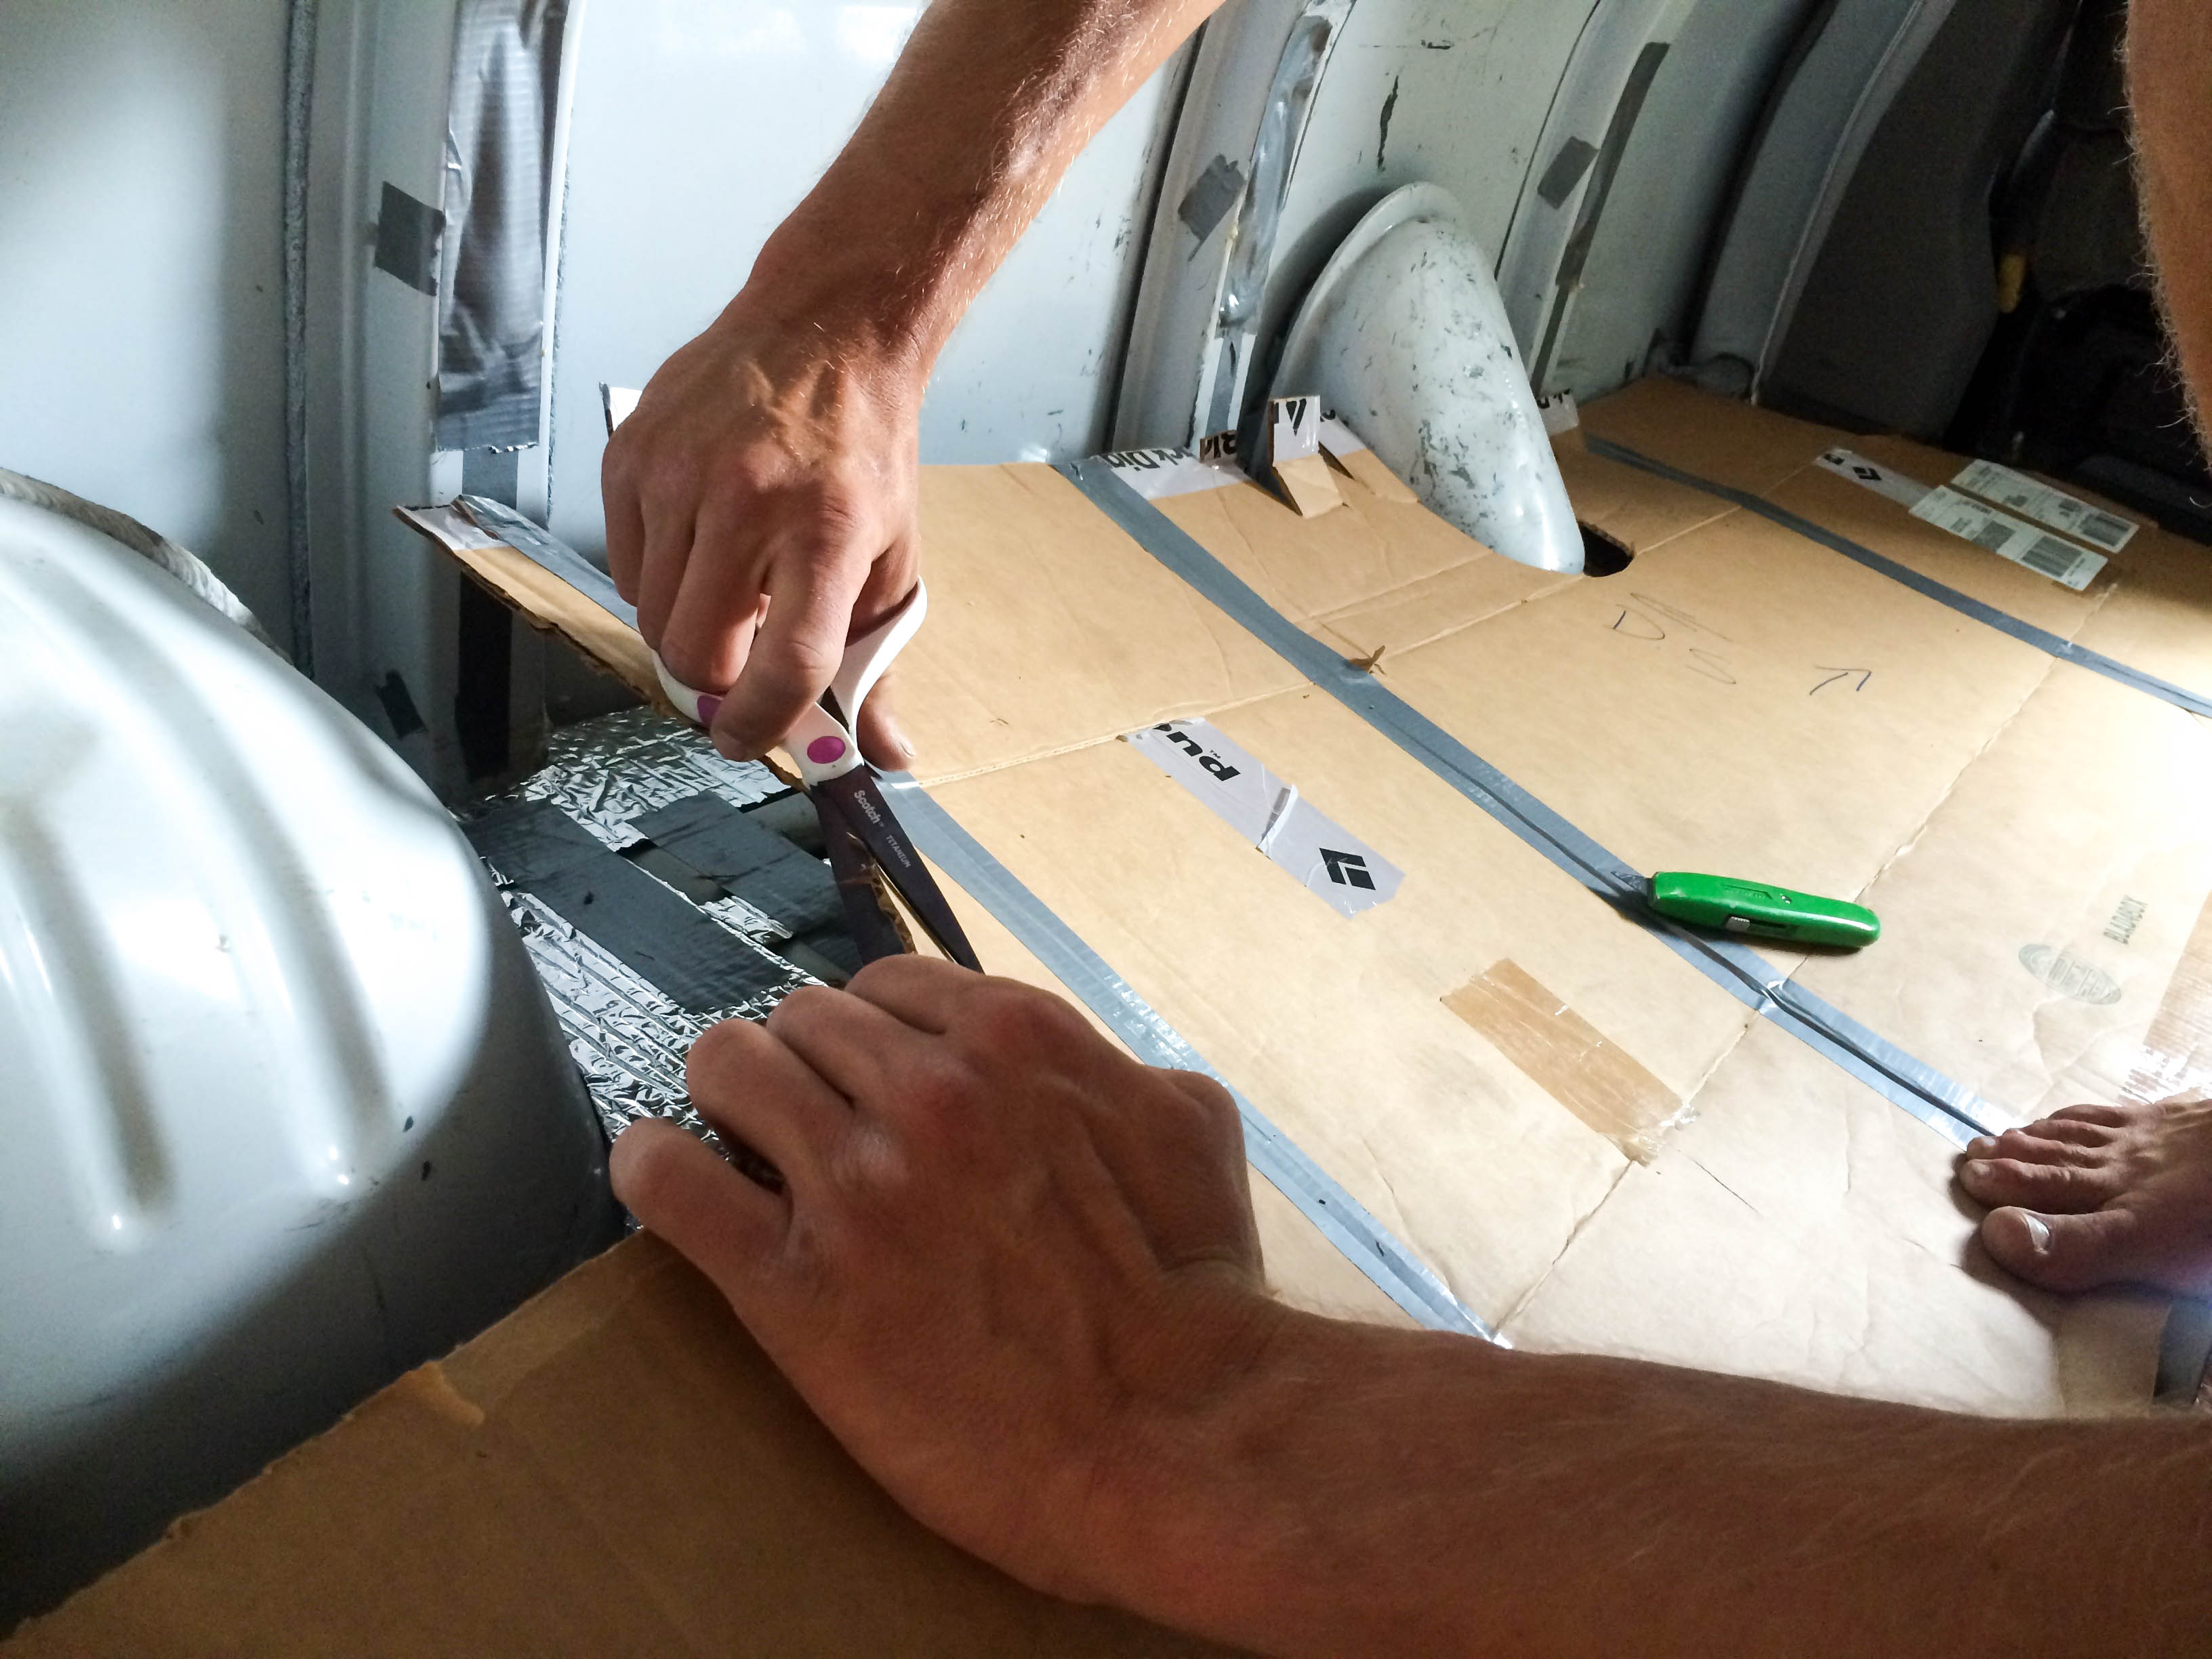
- Starting with the subfloor, we used cardboard stencils to get the exact shape of the floor of the van. The goal was to have the pieces fit so precisely that there wouldn’t be any shifting. We didn’t want to make any holes in the metal floor once we started screwing down the cabinets and other furniture. Cut after cut, Matt was able to accomplish this goal using three pieces of plywood, with the breaks of the subfloor running perpendicular to the van.
- Next we installed a higher quality insulated underlayment over the subfloor– any additional insulation was worth a few more pennies.
- The last step was installing the wood laminate. We feel blessed that the laminate was donated by a friend, leftover from a home improvement project. Donations like this really added more charm to the build because we felt loved and supported. Again, because of the odd, curved lines of the van, installing the laminate was a bit of a pain. Luckily Matt acquired the help of his good friend, Adam, who had some experience working with wood laminate flooring. They did their best at matching the curves of the walls, but the edges were covered with trim and furniture by the time we were finished, hiding any mistakes.
In the end we succeeded in creating a fully insulated, livable space. And, although we had a few setbacks working with such an oddly shaped area, we were able create a charming home. We have loved the surprised reaction of many people who don’t expect such a finished interior when they get a tour of the van (many of the compliments being the flooring and tongue and groove detail.) More importantly, we created the kind of space we wanted to live in– far from the sterile work van we started with.

Wow. It looks perfect now! I`m dreaming about a month living this way 🙂
LikeLike